

Cart
Your shopping cart is empty!
It's never too late to fix it :)
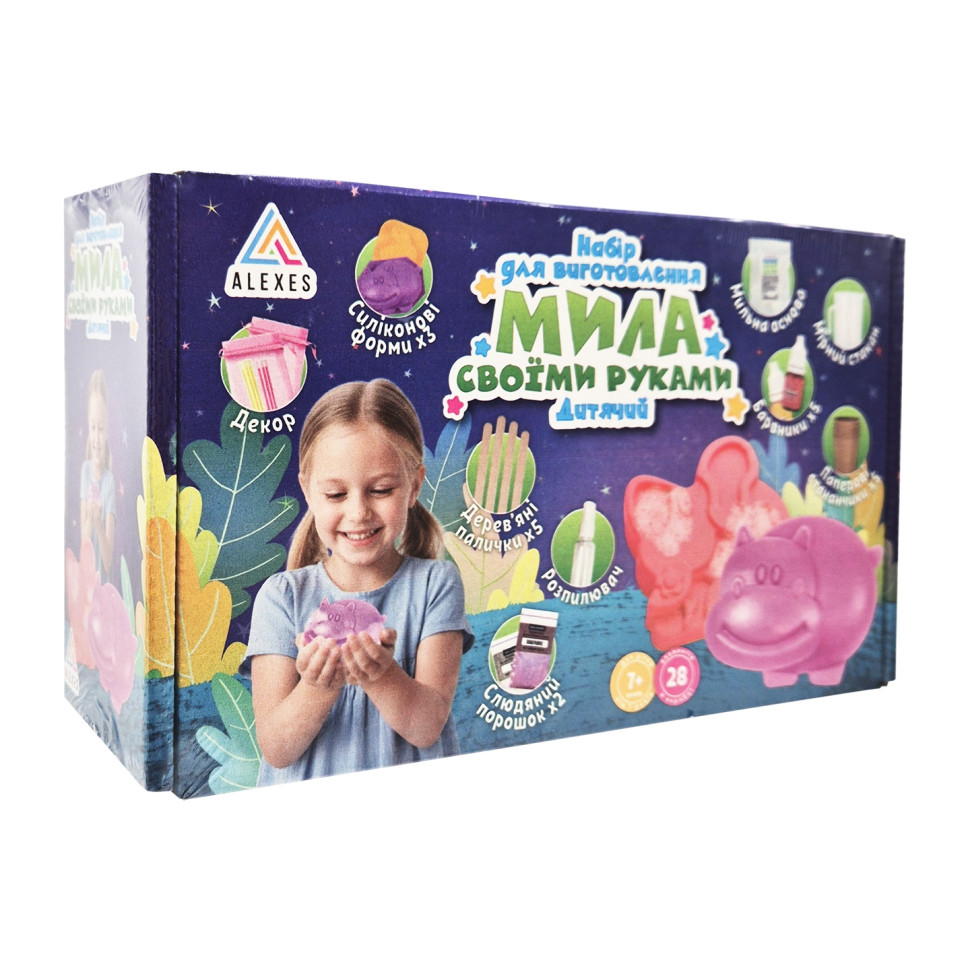


"Kids" Soap-Making Kit
With this soap-making kit, your children will not only have fun but also develop their creativity and imagination while creating unique gifts for themselves and their loved ones. Our "Do-It-Yourself" soap-making kit is perfect for anyone looking to discover a new and exciting hobby. Carefully selected ingredients and detailed instructions will help you become a beginner soap maker in no time.
Choose a color from the kit to make soap that matches your taste and ideas, and use the decorating supplies to finish off your homemade soap and make it even more unique.
Every ingredient in this kit has been selected with your convenience in mind.
The kit makes a great gift for your children, and the soap-making process is a fun activity for the whole family.
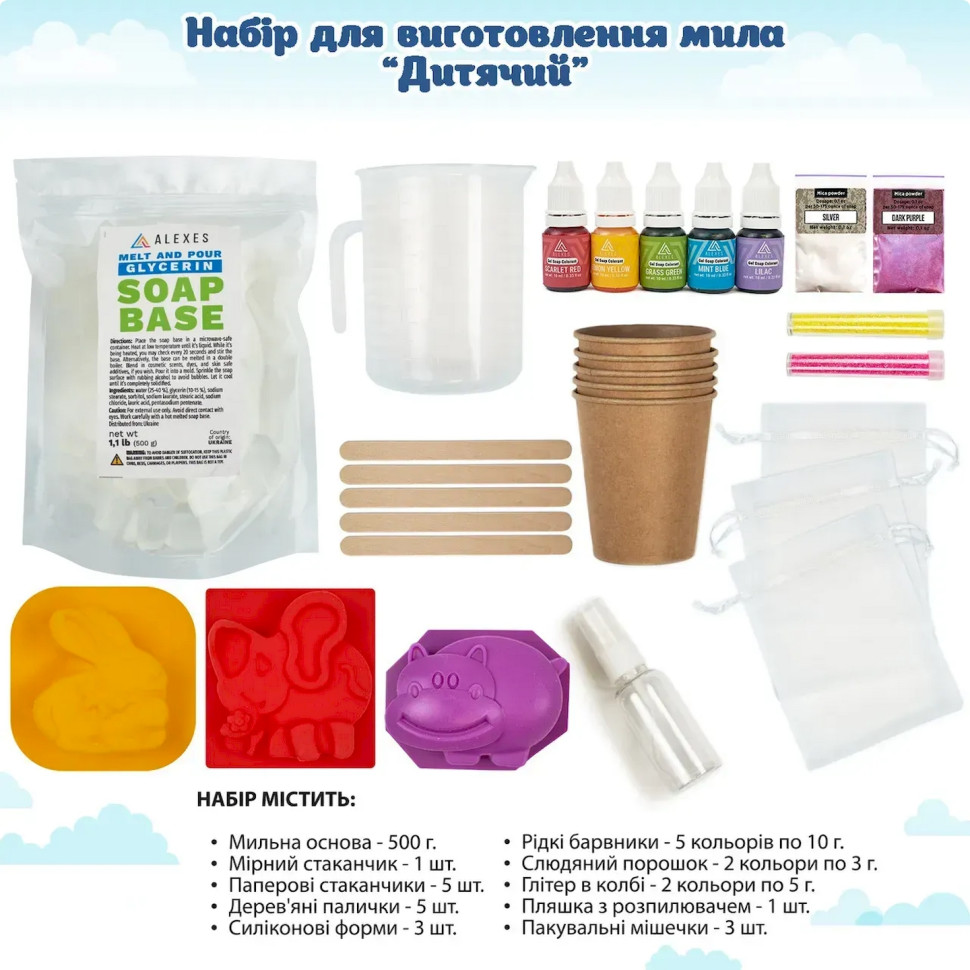
The kit contains:
1. Organic soap base, 500 g;
2. Measuring cup for melting the soap base – 1 pc;
3. Wooden sticks – 5;
4. Reusable silicone molds – 3 pcs.;
5. Liquid dyes—5 x 10 g (lilac, mint blue, lemon yellow, grass green, red);
6. Mica powder – 2 packets, 3 g each (lilac, silver);
7. Spray bottle – 1;
8. Paper cups – 5;
9. Gift bags – 3;
Create magic in an instant—a children’s soap-making kit. With this kit, your little ones can feel like real artists as they create their own unique masterpieces.
This kit provides your child with everything needed to get the creative process started.
Instructions
Step 1: Prepare Your Workspace
Make sure your workspace is clean and comfortable for working. Protect the surface with newspapers or paper.
Step 2: Melting the Soap Base
Measure out the required amount of organic soap base using a measuring cup. Melt the soap base in the microwave or in a double boiler until it is completely dissolved. Stir periodically until the soap has a uniform, liquid consistency.
Step 3: Adding Colorants and Fragrances
Add liquid dyes, glitter, or mica powder to the melted soap base to achieve the desired color. Feel free to experiment with different color combinations.
Step 4: Filling the Molds
Prepare the silicone molds by placing them on your work surface. Begin pouring the melted soap base into the molds.
Step 5: Setting
Let the soap set for a couple of hours.
Step 6: Removing the Soap from the Molds
Once set, carefully remove the soap from the molds.
Step 7: Storage and Gifting
Store the finished soap in a cool, dry place. If you’d like, use organza gift bags to create a wonderful gift for your loved ones.
All done! Now your children can enjoy the soaps they made themselves or give them to family and friends. Have fun being creative!